
Use Horizon, Church, Hunter's Glade, Solar Power Plant, and Crow's Nest as named anchors when planning a trip in Permafrost. Start with a settlement or shelter you can recognize, choose one destination, and keep a clear return route. A list of resource markers is less useful if you cannot reach the destination with the right equipment or return before the cold becomes a problem.
This is a static location and route reference. It does not claim to show every current loot container, animal spawn, or collectible. Custom map markers can disappear when the game is relaunched, so keep a separate note of important destinations. Named locations also do not prove that all planned regions are available in the current Early Access version; White Hell remains a future-content boundary in the verified roadmap.
For travel preparation, check cold-zone clothing and the sled travel reference.
Start with the settlement that serves your trip
The first useful map question is where to return after the task. Pick an anchor with a name you can recognize and a reason to revisit it. Quest conversations, a workbench, an unlocked travel point, or a shelter can make a location more useful than a distant cluster of loot.
| Anchor | What to associate with it | How to use it in a route plan |
|---|---|---|
| Horizon | Robyn and the early settlement sequence | Keep it as the reference point for initial cave and settlement trips |
| Church | Anna, the roof quest landmark, and an existing dismantling workbench | Group Church errands before setting out for another area |
| Hunter's Glade | Skinwalker and the Woods quest sequence | Treat the quest conversation and nearby exploration as one trip when prepared |
| Solar Power Plant | Solar Fields and Logan Boyce | Use the named settlement to distinguish the area from an individual radio tower |
| Crow's Nest | Jeremiah Crow | Record the settlement name alongside the NPC rather than only a quest marker |
| Sonnenberg's Clinic | Dr. Sonnenberg | Keep clinic errands separate from similarly named Solar locations |
| Technocrats Colony | The colony and its NPC interactions | Read the active quest before choosing an interaction there |
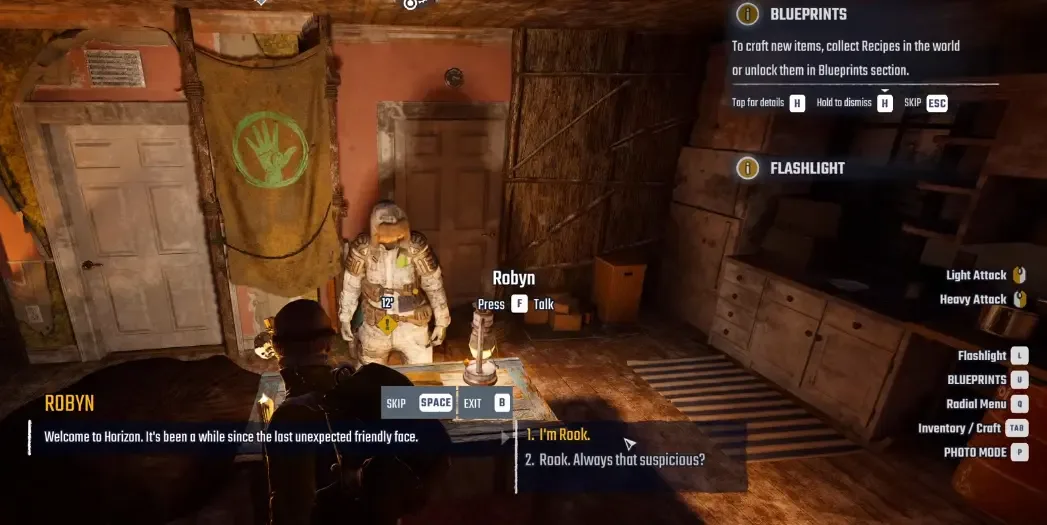
Use Robyn as the named Horizon anchor in your route notes.
Horizon is an early point of orientation after the starting cave. It is also a No Build Zone, so discovering it does not mean every spot inside the settlement is available for your own construction. Separate the place where you meet early characters from the place where you intend to establish a personal base.
Do not assume every settlement provides every kind of service. A useful route note identifies the actual purpose of the stop: speaking to Robyn, reaching Anna, returning to a known bench, or using a travel point you have already unlocked. That prevents an unnecessary trip based only on a familiar name.
Recognize the early cave and wilderness landmarks
Caves and named outdoor sites help you describe a destination even when a custom marker is gone. They also separate an area-wide errand from a precise quest interaction. Bone Cave, for example, is a recognizable place name; the injured dog is a specific objective inside the early quest sequence.
| Landmark | Area anchor to keep in mind | Reference role |
|---|---|---|
| Bone Cave | Horizon | Early cave and dog-related destination |
| Landscar Cave | Horizon | Named cave for orientation near the early settlement |
| Bunker Checkpoint | Horizon | Distinct checkpoint landmark rather than the bunker itself |
| Bunker 21 | Horizon | Named bunker destination; read the relevant quest before interacting |
| Nomad Camp | Horizon | Outdoor camp landmark |
| Crater | Horizon | Scavenging destination name |
| Military Area | Horizon | Distinct scavenging area name |
| Gas Station | Horizon | Easily described building landmark |
| Hunter's Glade | Church and the Woods sequence | Skinwalker's named meeting place |
| Rift Cave | Church | Cave landmark for a Church-area route |
| Cougar's Den | Church | Separate cave name; do not confuse it with Bone Cave |
This grouping is for orientation. It is not a turn-by-turn route and does not promise that the path between two entries is safe or open. Follow the terrain you can see, the active objective, and your available equipment. Avoid combining several unfamiliar destinations simply because they share an anchor in the table.
A compact trip can be a known shelter, one cave, and the same shelter again. A longer trip needs a clearer reason: a new quest destination, a required material, or another useful anchor. If you cannot name the return point without checking the marker, improve the route note before relying on it in poor visibility.
Use Church as a cluster of distinct destinations
Several useful place names sit in the broader Church area. Keep them distinct so that a instruction to visit the Church does not become an instruction to search every surrounding structure. Anna's conversation, the roof door, and the dismantling workbench are different interactions even though they share the same settlement anchor.
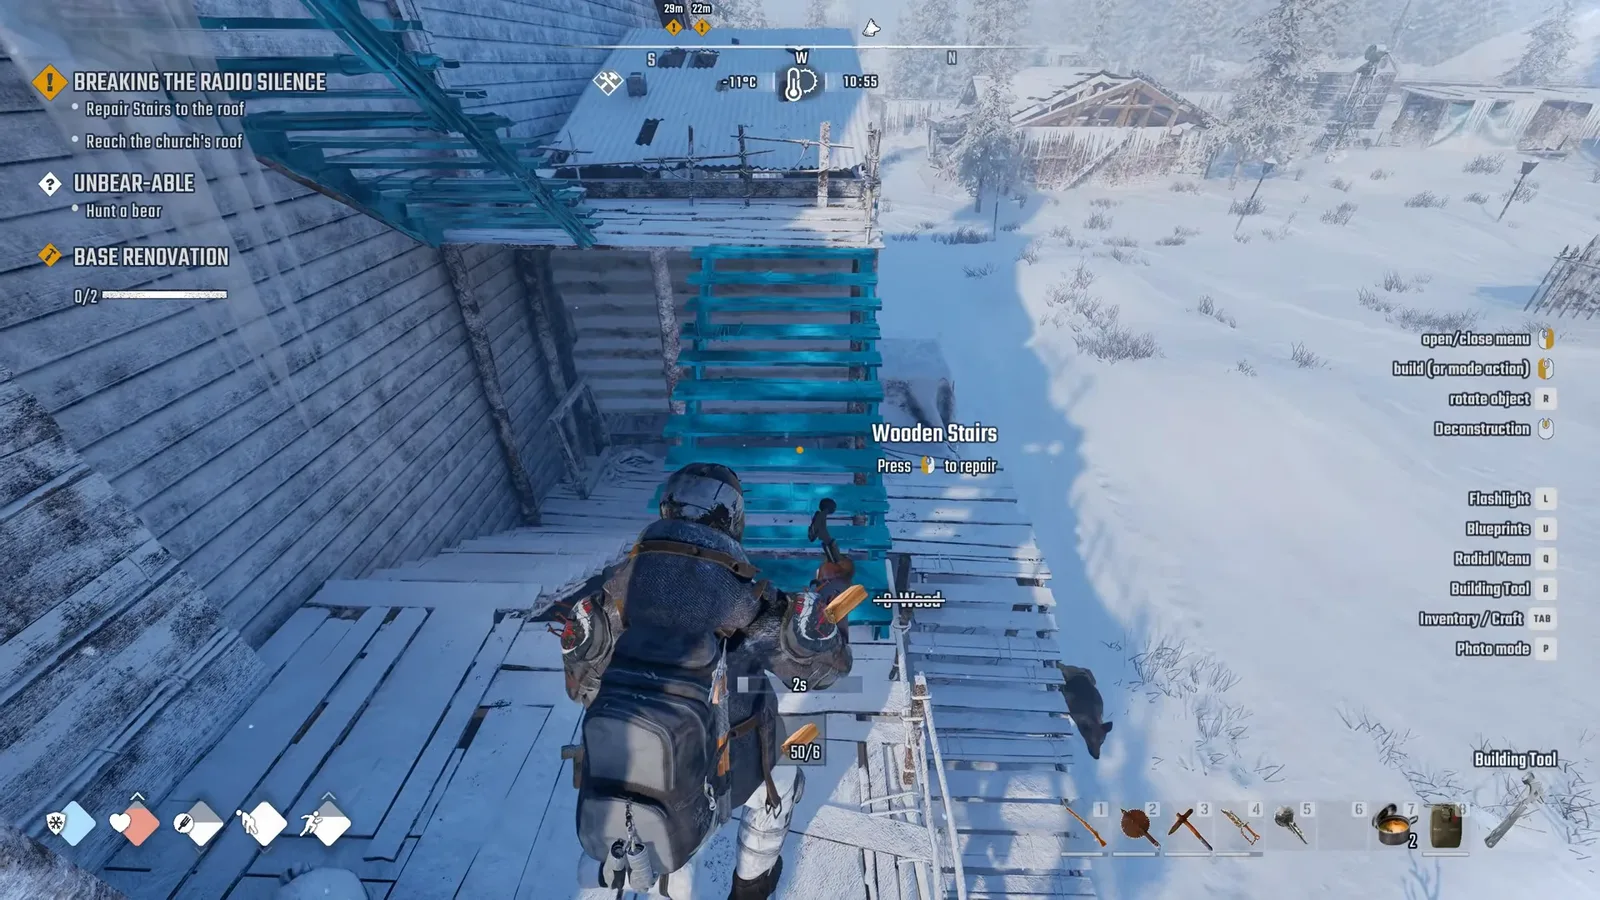
The Church-side scaffolding is a recognizable landmark; its repair belongs to the active roof quest.
| Church-area destination | Why the name matters |
|---|---|
| House Camp | Settlement context for House Camp quests |
| Candlelight Inn | Separate building landmark for nearby exploration |
| Convoy of Couriers | Named convoy rather than a generic roadside vehicle |
| Water Tower | Distinct tower landmark; not automatically the radio tower your quest requires |
| Improvised Radio Tower | Finn-related tower destination |
| Hunter's Glade | Skinwalker's meeting place |
| Shallow Rift | Scavenging area name |
| Frozen Pond | Separate scavenging landmark |
| Greenhouse | Meeting-place landmark associated with the wider Crow's Nest side of the map |
When your purpose is dismantling, head for the bench inside the Church rather than searching the surroundings for an inventory command. When your purpose is a story interaction, inspect the journal before opening a reward box or repairing a device. Knowing where a device stands and having the correct quest step active are different prerequisites.
Radio towers especially benefit from careful naming. A map may show a tower before its quest asks you to use it. For High Frequency, a tower repaired before quest activation can fail to register. Build the base radio before repairing the tower radio. The map should help you reach the right place; it should not encourage you to complete every visible repair as soon as you discover it.
Match NPC names to destination names
Record the person and the place together. A note that says only “return to trader” can become ambiguous after you meet several characters. A note that says “Anna — Church — current roof step” is more useful because it combines location, person, and purpose.
| Person | Named location reference |
|---|---|
| Robyn | Horizon |
| Anna | Church |
| Skinwalker | Hunter's Glade |
| Logan Boyce | Solar Power Plant |
| Jeremiah Crow | Crow's Nest |
| Dr. Sonnenberg | Sonnenberg's Clinic |
| Eric Hirsch | Technocrats Colony |
| Sean | Promenade, also described as House Camp |
| The Rat Queen | Rat Queen's Crossing |
| Condor | Charles' Park or The Last Stand |
Some characters have more than one listed location. Do not interpret that as a promise that they are present at every location at the same time. Use the current objective and the character you can actually find to finish the errand. If an NPC interaction fails to register, adding another marker will not necessarily repair the quest state.
For co-op, make the route note visible to the group in ordinary conversation before travelling. The host should perform the main story steps and Skinwalker quest interactions under the current guidance. Guests can navigate and gather, but a guest reaching the correct destination does not guarantee that a host-owned story step advances.
Plan resource trips around the required tool
A map tells you where to investigate; your tool determines whether the trip can achieve its purpose. Check the exact resource and tool before walking away from shelter. Bringing a pickaxe that cannot mine the target turns a successful navigation trip into an unsuccessful gathering trip.
A particularly important current distinction is Moonstone. The basic Iron Pickaxe description is incorrect: Moonstone requires the Quality Iron Pickaxe. A resource marker does not override that requirement. Do not plan a Moonstone run around the ordinary iron tool because its description appears to promise access.
For scrap, use a different route plan. Items described as dismantlable need a dismantling workbench. The Church contains an existing bench, so that location can be an actionable processing stop. Finding Metal Junk and carrying it home are only part of the task if you still need a suitable bench to obtain scrap.
Write a resource route as four items: target material, collection destination, required tool or processing station, and return point. Keep the distinction between collecting a raw item and processing it into a crafting material. It prevents a route from ending at a full backpack without producing the resource needed for the next craft.
Account for cold zones and travel limits
A cold zone is colder than the surrounding ground. Treat entry into one as a decision point, not merely a map label. The useful question is whether your current clothes, warmth, supplies, and return path support the task you intend to do there.
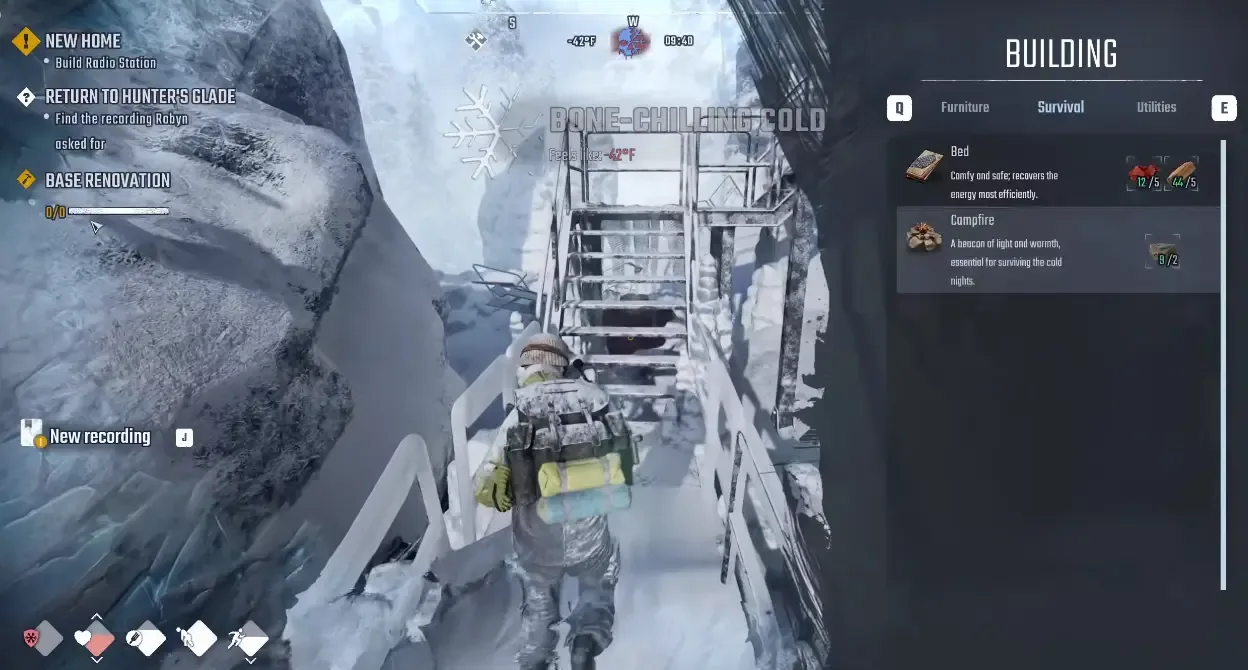
Cold-warning reference from one captured situation; the displayed conditions are not a universal route threshold.
Named cold-zone landmarks include Renegade Camp, Shattered Convoy, The Crater's Military Convoy, and Woodcutters Outpost. Their presence in a location reference does not establish a universal clothing threshold or safe exposure time. There is no verified minute-by-minute travel allowance here, so do not budget the return around an invented countdown.
Fast travel uses unlocked sled points. A visible post is not necessarily an unlocked destination in your own world. Plan the first journey on foot until you have actually unlocked the relevant point. Travel may also be unavailable during combat or severe snowstorms, so a route that depends entirely on immediate fast travel needs a fallback return path.
The craftable travel-point recipe associated with House Camp Flipper remains listed as having an unlock problem. Do not choose a remote base location solely because you expect to place that travel point immediately. Existing points and a route you have personally opened are firmer planning anchors.
Keep a usable route record when markers disappear
Custom markers may disappear after relaunch. Preserve the information that makes a destination recognizable: its name, the nearest settlement you know, the visible structure, and the purpose of the visit. A screenshot of your current in-game map can be useful, but pair it with a written name so a tiny symbol is not the entire record.
Keep the record short enough to use during a trip. Separate “visited,” “needs return,” and “blocked by tool or quest” in ordinary notes. These are your own observations, not proof that a container respawns, a quest is complete, or a resource is still present after an update.
Before a new trip, check what changed since the last one: a newly active quest, a better tool, an unlocked travel point, or a finished crafting step. Choose the destination that resolves the next concrete need. A useful Permafrost map route ends with the right material, conversation, or unlock and a known place to recover, rather than with the largest possible number of markers crossed off.
Sources and version notes
Sources checked: 12 October 2026. Verification labels refer to the cited documentation and its stated limits; this site has not independently tested these steps in the game. Compare the information with your installed build.
- Permafrost interactive map: places, resources, loot and recipe notes — Map database. Scope: Actual game place, character and resource labels / named area clusters; noninteractive editorial map reference.
- Quest Issues & Workarounds (The Way Home and more) — Developer issue post. Scope: Skinwalker dialogue Space / host alone; out-of-order repairs or reward pickup can fail; base radio first.
- Known Issues & Workarounds (Updated October 11) — Developer issue post. Scope: Custom map pin limits and the Moonstone tool requirement, rather than interactive map coordinates.
- How do I break an item down? :: Permafrost General Discussions — Community answer with developer participation. Scope: Salvage requires dismantling workbench; quest unlock; a bench inside church; developer thanked helpers without universal independent verification.