
If a Permafrost roof section says it needs support, treat the rejected section as a placement problem to inspect before rebuilding the shelter. The current maximum unsupported span and an exact universal beam layout are not confirmed here. There is no reliable “two roof pieces always work” rule to apply to every design.
Keep the existing shelter intact while you check the affected section. A player report about a roof failing after two inward pieces is evidence of that problem occurring, not a tested measurement for every roof.
Isolate the rejected section
Compare the failed roof placement with the nearby section that already works. Look at the position you are trying to fill and the structure underneath it. Keep the same roof piece selected for a comparison so you do not change the layout and material at the same time.
Keep the Building Tool and selected roof piece visible while checking the problem. Confirm which piece you are attempting to place before changing the surrounding structure.
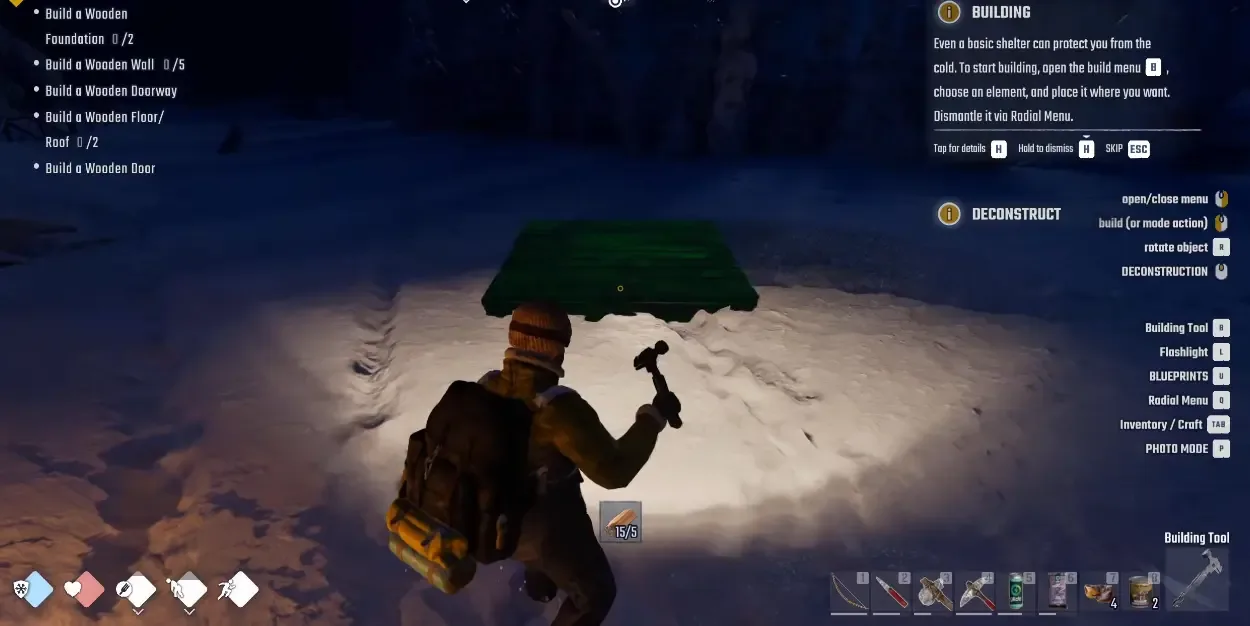
This is a construction-interface reference. It does not show the roof support warning or prove a supported roof layout.
Use a small test:
- Identify the first roof section that the game rejects.
- Inspect the existing structure beneath and beside that section.
- If your build menu offers a suitable supporting part, test support at the affected area before extending the roof farther.
- Attempt the same roof section again and observe whether the warning changes.
This is a diagnostic test, not a guaranteed recipe for the support calculation. If the placement remains rejected, do not assume that every additional beam will help. Reassess the position and the exact message before spending more materials.
Avoid turning one failure into a full rebuild
Changing a whole roof makes it harder to identify what resolved the problem. Adjust the failed area first, and keep track of the one change you made. A successful placement after adding support shows that your revised layout works there; it does not establish a universal span for other materials or shapes.
If you need to describe a persistent failure, capture the warning and the visible structure below it together. An image of the completed exterior alone will not show the condition that stopped placement.
Check shelter performance after placement
Placing the roof is only the building milestone. A completed roof, walls, and door do not guarantee that Body Warmth will recover or that a bed is ready for resting. Once construction succeeds, check the actual warmth meter and the available heat near the resting area.
Do not keep redesigning support because the room remains cold after the roof fits. At that point, roof placement and heating are separate checks, and the temperature condition needs its own attention.
Sources and version notes
Sources checked: 12 October 2026. Verification labels refer to the cited documentation and its stated limits; this site has not independently tested these steps in the game. Compare the information with your installed build.
- Can’t place my last ceiling... — Developer response and player workaround. Scope: Developer Oct9 acknowledges middle roof/ceiling placement rejected even with foundation; players report internal-wall placement workaround.
- Steam Community :: Permafrost — Player reports. Scope: Oct 10 review reports regions/markers/fast-travel information gone after re-log.
- WARMTH? :: Permafrost General Discussions — Community discussion. Scope: Shelter/active fire help warmth; historical player advice, not precise current warmth formula.
Developer reports foundation-present roof rejection; player support-span explanations conflict. Do not publish one/two-square maximum or universal3x3 support layout as confirmed mechanics.